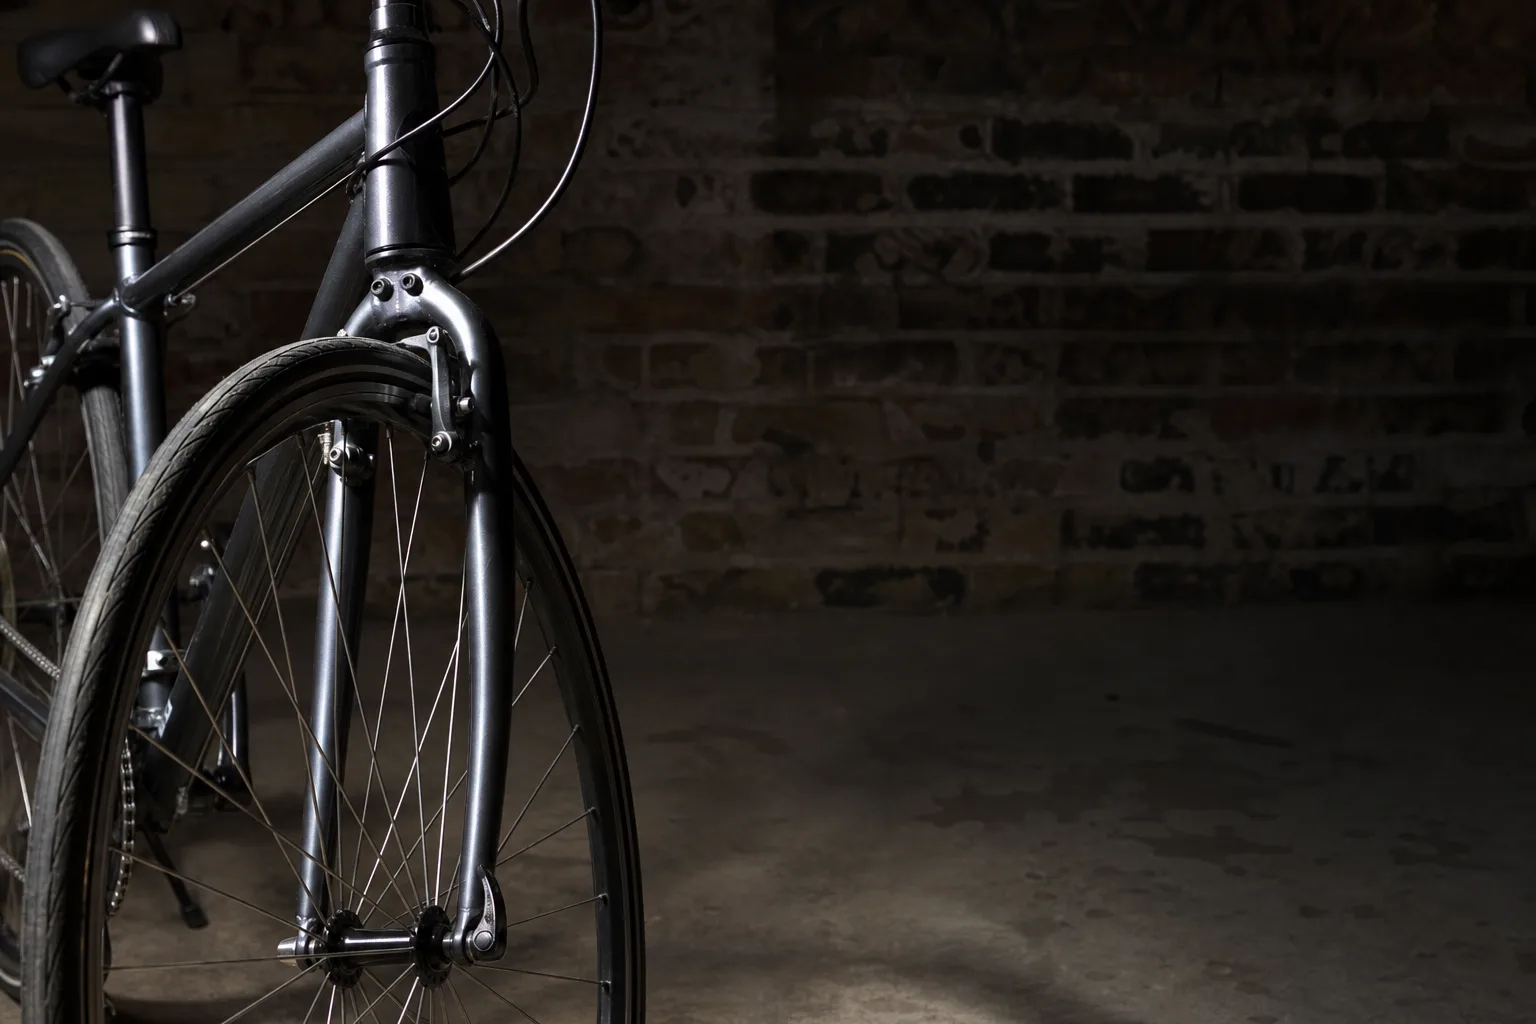
Eyelets, fork crown clearance, heel strike and the daily weight of a lock decide whether a bike works for errands, and all four can be checked in the shop.
A bike that rides beautifully on a Saturday morning can turn out to be useless for groceries, and the reasons are almost always mechanical rather than aesthetic. The rack won't bolt on straight. The fender rubs the fork crown at every bump. Your heel clips the pannier once a pedal stroke, quietly, for nine years. None of this shows up on a spec sheet, and none of it shows up on a fifteen-minute test ride around the block either, because you rode the bike empty. Here is what to look at instead, in the shop, before the card comes out.
1. Count the eyelets, then look at where they sit
Most bikes sold for commuting have threaded eyelets at the rear dropout, and that is where the reading usually stops. What matters more is the second pair, up on the seatstays, and whether the frame has them at all or expects you to use a seatpost clamp with integrated tabs. Look at the height of those upper eyelets relative to the dropout: too low and the rack sits nose-down, too high and the stays run out of adjustment. Check the fork as well, since a front rack or a low-rider needs mid-blade bosses that many forks simply don't have.
2. Put two fingers behind the fork crown
Fender clearance is decided at three pinch points: behind the fork crown, under the brake bridge or seatstay bridge, and at the chainstay bridge just behind the bottom bracket. The crown is the one that catches people out, because a fork can have generous room at the tire's widest point and almost none directly above it. You want daylight you can measure, roughly a finger's width or better, with the tire you actually intend to ride rather than the one fitted in the showroom. Ask the shop to hold a fender blade in place if you are unsure. A rubbing fender is a noise you will hear every single day.
3. Ride it with a loaded pannier, not an empty rack
Heel strike is a function of chainstay length, rack design, your shoe size and how far forward the pannier hooks sit on the rail, and you cannot predict it from any single number. A frame with short stays, the kind that makes a bike feel lively, gives you the least room. Bring a bag, or borrow one, load it with something bulky rather than something heavy, and pedal a full parking lot lap. Listen for the tap. Some racks solve it with a rearward-swept rail, and moving the bag back two inches is often the entire fix, but you need to know before you commit.
4. Decide what lock the bike has to carry, then weigh it
A hardened U-lock worth locking a real bike to a real rack with weighs somewhere between two and five pounds, and the good ones sit at the heavy end. That weight rides with you every trip, so decide early whether it lives in a frame-mounted bracket, in a pannier, or across your back. Frame brackets need bottle bosses that are not already claimed, and on a small frame with a sloping top tube they frequently interfere with the bottle itself. Check that the shackle clears the cables. The Consumer Product Safety Commission oversees the safety requirements bicycles must meet at retail, but nothing about locking is standardized, so the fit is yours to verify.
5. Ask what the frame is rated to carry
Racks carry a load rating, usually stamped or printed near the mount, and frames sometimes carry one too, particularly on lighter aluminum and carbon models where the manufacturer will state that no rack should be fitted at all. Read the manual, or have the shop pull up the spec, before you assume a rear rack is a bolt-on afterthought. Disc brake calipers complicate the picture further, since some rack legs need a spacer or a dogleg adapter to clear the caliper body. A shop that mounts the rack for you at the point of sale has solved all of this before you leave.
The careful version of this purchase takes about twenty extra minutes and a tape measure. Bring the bag you plan to use, bring the lock if you already own one, and treat the test ride as a rehearsal for a Tuesday grocery run rather than a pleasure lap. Everything above is fixable in the shop and expensive to fix later.